Lab
P-1 Installing a Local Printer in Windows 98
- Get a printer from me
and set it up on your lab computer.
- You may need to search
for a cable to connect it. Be sure to return that cable to its proper
place when you are finished.
- Go online on a Dell
and find the drivers for all three of the operating systems you are using.
Plug and Play Printers - Usually to install a
plug and play printer is simply a case of connecting it to your PC (connect
with power off if it is a parallel printer) and following the instructions that
came with your printer, if you have problems read the steps below.
Non Plug and Play - If you have a non plug and play printer or the
machine is not recognizing the printer then you will need to install the
printer manually, to do this follow the instructions below.
The instructions below are GENERAL. Your actual
experience may vary.
|
|
Printer with USB Interface |
|
|
Printer with Parallel Interface |
|
|
If your printer is plug and play compatible then the PC will find the
printer itself, in this case simply follow the on screen instructions. |
|
|
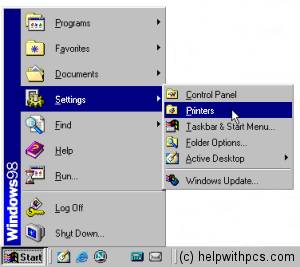
Now double click on the Add Printer icon as shown on the left. |
|
|
You will be presented with a screen telling you to click Next
to continue installing a new printer, click the Next button. |
|
|
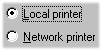
Next it asks you if the printer is a local or network printer, choose Local
(unless your printer is on a network) and then click the Next button. |
|
|
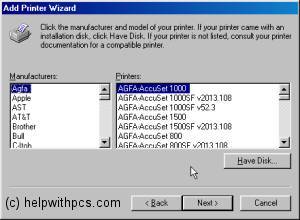
Now you get presented with a window as shown on the left, if you have
the Disk/CD that came with your printer then click Have Disk if you
don't have a driver disk/CD for your printer then see if the printer is
listed among those printers available. |
|
|
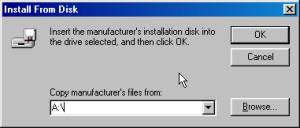
When you have the Disk/CD |
|
|
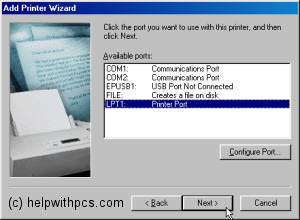
Next you are asked which port you would like to install the printer,
if it is a parallel printer then choose LPT1 (standard), if it is a USB
printer then choose the USB port (although USB printers should install
themselves). When you have selected one of the ports click the Next
button. |
|
|
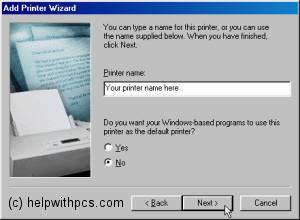
Now you get an option to rename the printer and/or select it as the
default printer for Windows 98 based programs. Unless you have a reason to
change the name then you can leave it as it is, making the printer the
default or not also depends on your choice. |

Prove to me you can
print to get this checked off.
Questions
- What type of printer did you install?
- What is the name of the printer you
installed?
- Where did you find the driver?
- What interface does the printer use?
- Can you share this printer if you’re on
a network?